Set a Print Area in Excel
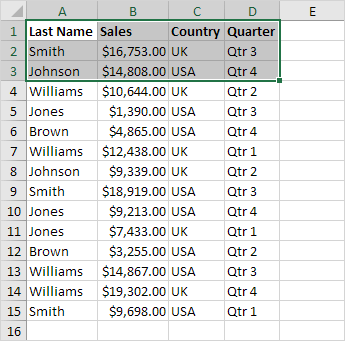
If you set a print area in Excel only that area will be printed. The print area is saved when you save the workbook.
To set a print area execute the following steps.
1. Select a range of cells.
2. On the Page Layout tab in the Page Setup group click Print Area.

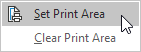
3. Click Set Print Area.
4. Save close and reopen the Excel file.
5. On the File tab click Print.
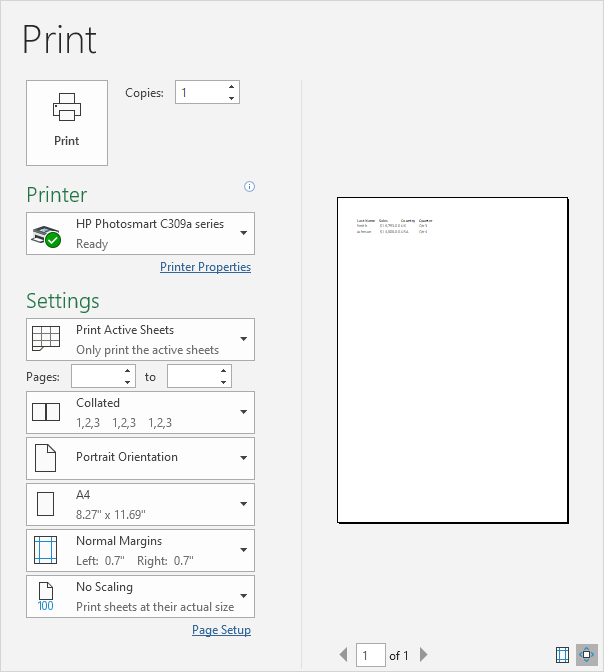
Result: only the print area will be printed. See the print preview below.
Note: use the Name Manager to edit and delete print areas. On the Formulas tab in the Defined Names group click Name Manager.
Written by
Jason Howie
Founder, FormulasHQ
A formula nerd with a passion for numbers and equations. Writes about Excel, Google Sheets, VBA, regex, and Salesforce formulas — for people who spend their day in spreadsheets.