Table of Contents
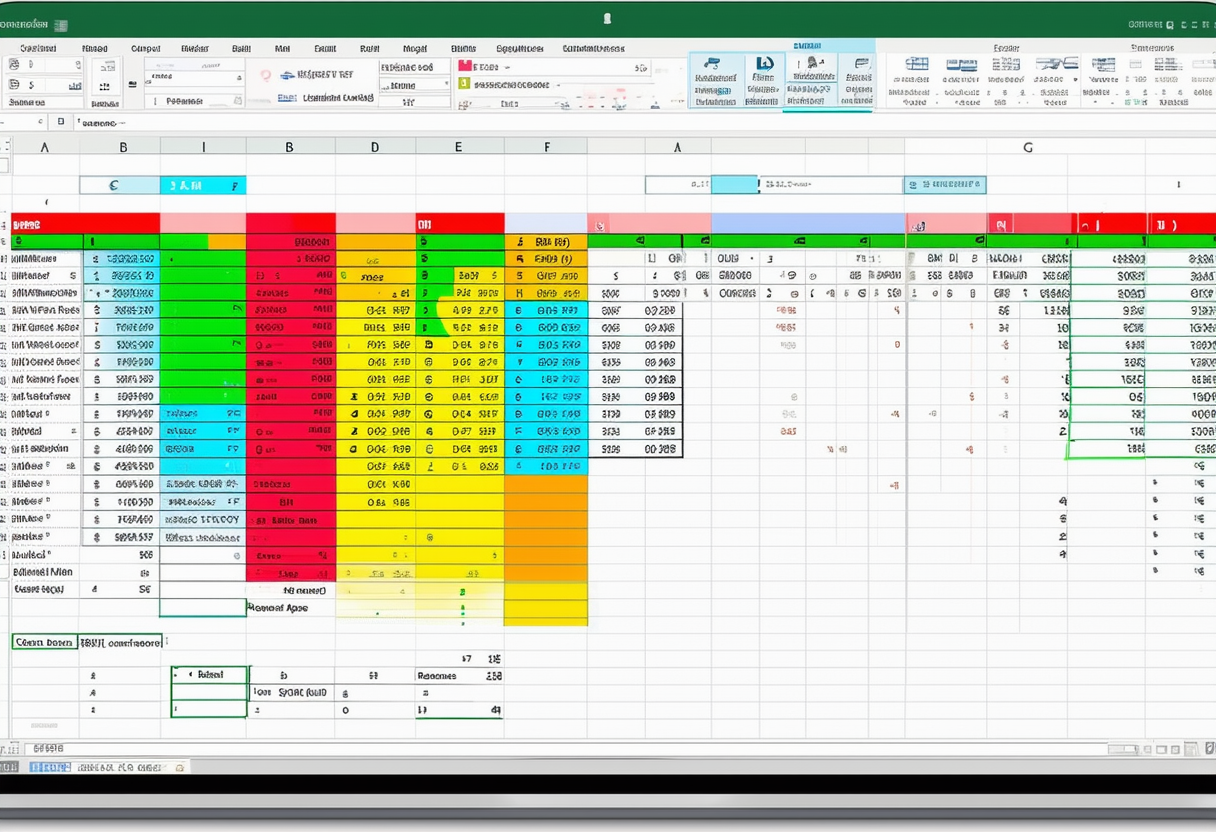
Google Sheets is a powerful tool that allows you to organize and analyze data in a tabular format. By turning your data into a table, you can easily sort, filter, and manipulate the information to gain insights and make informed decisions. In this article, we will guide you through the process of creating a table in Google Sheets, from understanding the basics to troubleshooting common issues.
Understanding the Basics of Google Sheets
Before we dive into the specifics of creating a table, it’s important to have a good grasp of what Google Sheets is and why it is a valuable tool for data management. Google Sheets is a web-based spreadsheet program that allows you to create, edit, and collaborate on spreadsheets online. It offers many features and functions that enable you to manipulate data and perform calculations.
One of the key benefits of using Google Sheets is its cloud-based nature. This means that you can access your spreadsheets from anywhere, on any device, as long as you have an internet connection. Additionally, Google Sheets allows for real-time collaboration, making it easy to work with others on the same spreadsheet simultaneously.
What is Google Sheets?
Google Sheets is a web-based spreadsheet program that allows you to create, edit, and collaborate on spreadsheets online. It offers many features and functions that enable you to manipulate data and perform calculations.
Importance of Organizing Data into Tables
Organizing your data into tables provides several benefits. First, it improves the visual clarity and overall readability of your information. By dividing your data into separate columns and rows, you can easily distinguish different variables and categories.
Furthermore, tables allow you to filter and sort your data effortlessly. With just a few clicks, you can arrange your information in ascending or descending order, making it easier to identify patterns or outliers. Tables also enable you to apply formulas and functions to specific columns, automating calculations and saving you time.
Preparing Your Data for Conversion
Before you can turn your data into a table in Google Sheets, it’s essential to prepare your data properly. This involves cleaning up your data and structuring it correctly.
Cleaning Up Your Data
Start by removing any unnecessary formatting, such as extra spaces, special characters, or inconsistent capitalization. This will ensure that your data is clean and uniform, making it easier to work with and analyze.
You should also check for any duplicate entries and remove them if necessary. Duplicate data can skew your analysis and lead to inaccurate results.
Structuring Your Data Correctly
Properly structuring your data is crucial for creating an effective table. Identify the different variables or categories in your data and assign them to separate columns. Each row should represent a single entry or record, with each column containing specific data for that entry.
Make sure to use meaningful headers for your columns, as these will help you understand the content of each column and make it easier for others to interpret your data. Additionally, avoid merging cells or using complex formatting within your data, as this can make it more difficult to convert your data into a table.
Step-by-Step Guide to Creating a Table in Google Sheets
Now that you have prepared your data, let’s walk through the process of creating a table in Google Sheets.
Selecting Your Data
First, open Google Sheets and navigate to the spreadsheet where your data is located. Click and drag to select the range of cells that contain your data. Be sure to include any header rows in your selection.
If your data is spread across multiple sheets or ranges, you can hold down the Control or Command key while selecting each range to include them in your overall selection.
Using the ‘Create a Table’ Feature
With your data selected, go to the menu bar and click on “Data” > “Create a Table.” A dialog box will appear, asking you to confirm the range of cells you want to convert into a table. Review the range and click “Create” to proceed.
Google Sheets will automatically detect the header row and apply the appropriate formatting to create a table. The first row of your selected range will become the header row, and each subsequent row will become a separate record in the table. The columns will be labeled with your chosen headers.
Customizing Your Table
Once your table is created, you can customize it to suit your needs. Google Sheets provides various options for formatting, sorting, and filtering your table.
To format your table, you can change the font, cell color, and border styles. Simply select the desired cells or columns and use the formatting options available in the toolbar.
If you want to sort your data, click on the arrow icon next to the column header you want to sort. You can choose to sort in ascending or descending order.
To filter your data, click on the filter icon in the column header. This will display a drop-down menu with filtering options, allowing you to hide or show specific data based on criteria you define.
Tips for Managing Tables in Google Sheets
Once you have created a table in Google Sheets, it’s important to know how to effectively manage and work with it.
Editing and Updating Your Table
To edit the content of your table, simply click on a cell and start typing. You can also copy and paste data into the table from other sources or sheets.
If you need to update your table with new data, you can do so by selecting the entire table and pasting the new data in the appropriate columns. Google Sheets will automatically adjust the table size to accommodate the new data.
Sorting and Filtering Data in Your Table
Sorting and filtering can help you organize and analyze your data effectively. As mentioned earlier, you can sort your table by clicking on the arrow icon next to the desired column header.
To filter your data, click on the filter icon in the column header and choose the filtering criteria you want to apply. You can filter based on specific values, text contains, or numerical conditions.
Troubleshooting Common Issues
While creating and managing tables in Google Sheets is generally straightforward, you may encounter some common issues along the way. Here are a couple of troubleshooting tips to help you overcome them.
Dealing with Formatting Issues
If your table doesn’t look quite right, double-check that your data is structured correctly. Make sure each row represents a single entry and each column contains specific data for that entry. Avoid merged cells or complex formatting, as these can cause issues when converting your data into a table.
Resolving Data Import Errors
If you encounter errors when importing data into your table, ensure that your selection range is correct, including all the relevant data and header rows. If the issue persists, try copying and pasting your data into a new sheet or cleaning up any formatting inconsistencies in your original data.
By following these troubleshooting tips, you should be able to resolve most common issues and successfully create and manage tables in Google Sheets.
In conclusion, turning your data into a table in Google Sheets can greatly enhance your ability to organize, analyze, and draw insights from your data. By understanding the basics, preparing your data correctly, and following a step-by-step guide, you can easily create and manage tables in Google Sheets. Furthermore, you can troubleshoot common issues that may arise along the way, ensuring a smooth and efficient process. Start utilizing the power of tables in Google Sheets today and unleash the full potential of your data.


