Table of Contents
Move Columns
To move columns in Excel use the shift key or use Insert Cut Cells. You can also change the order of all columns in one magic move.
Shift Key
To quickly move columns in Excel without overwriting existing data press and hold the shift key on your keyboard.
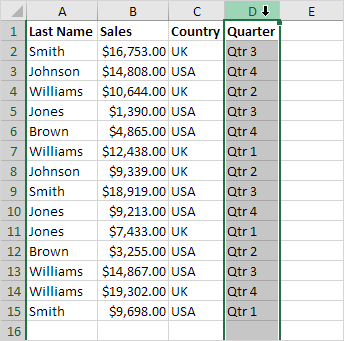
1. First select a column.
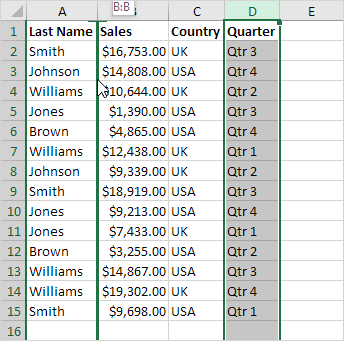
2. Hover over the border of the selection. A four-sided arrow appears.
3. Press and hold the Shift key on your keyboard.
4. Click and hold the left mouse button.
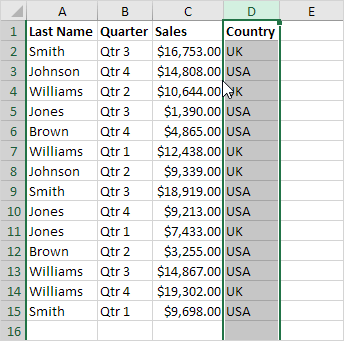
5. Move the column to the new position.
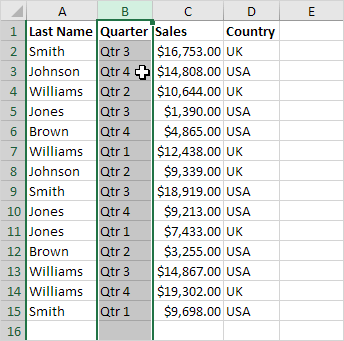
6. Release the left mouse button.
7. Release the shift key.
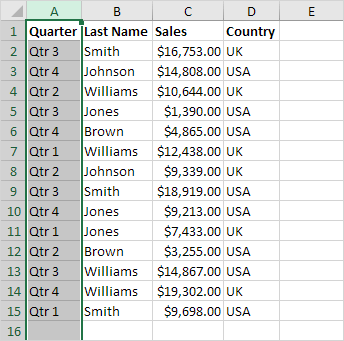
Result:
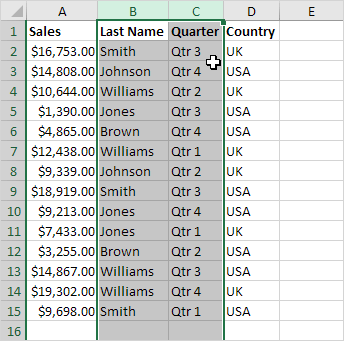
To move multiple columns in Excel without overwriting existing data.
8. First select multiple columns by clicking and dragging over the column headers.
9. Repeat steps 2-7.
Result:
Note: in a similar way you can move a single row or multiple rows in Excel.
Insert Cut Cells
If you prefer the old-fashioned way execute the following steps.
1. First select a column.
2. Right click and then click Cut.
3. Select a column. The column will be inserted before the selected column.
4. Right click and then click Insert Cut Cells.
Result:
Note: in a similar way you can move multiple columns a single row or multiple rows.
Magic Move
Finally you can change the order of all columns in one magic move. Are you ready?
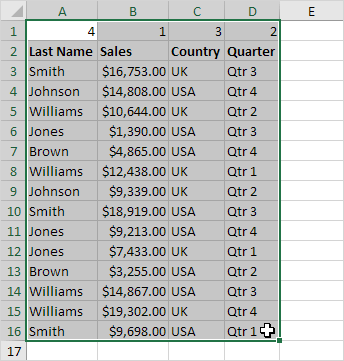
1. Select row 1.
2. Right click and then click Insert.
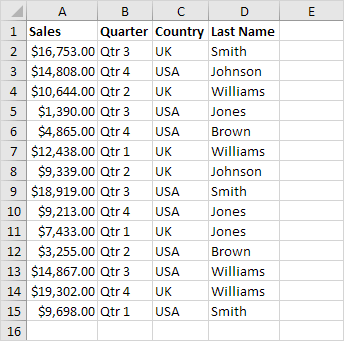
3. Use the first row to indicate the new order of the columns (Sales Quarter Country Last Name).
4. Select the data.
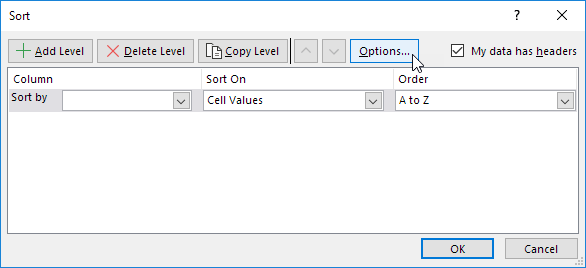
5. On the Data tab in the Sort & Filter group click Sort.
The Sort dialog box appears.
6. Click Options.
7. Click Sort left to Right and click OK.
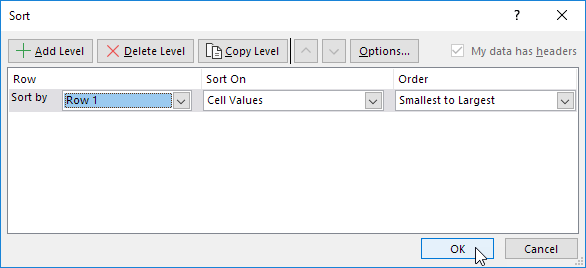
8. Select Row 1 from the ‘Sort by’ drop-down list and click OK.
9. Delete row 1.
Result:
Note: this technique is pretty impressive if you need to rearrange the order of many columns.
